Why oil cleansing works
The oil cleansing method was the hot topic of conversation in a #tweetchat I recently took part in. To a large extent we were preaching to the converted – the majority of those who joined in with the chat were already big fans – but there were some people who had tried it and felt it wasn’t for them.
Ingredients such as alcohol and harsh synthetic chemicals in mainstream cleansers can actually leave the skin dry and stripped of its natural oils, causing it to over-compensate by producing excess oil, which in turn leads to annoying pimples and blemishes. If this endless cycle of dry and oily skin sounds familiar to you, we would encourage you to give the oil cleansing method a try. Of course, there’s no such thing as a ‘one-size-fits-all’ skin care solution, but oil cleansing can work wonders for any skin type and, when done correctly, will not only remove make-up and draw out pore-clogging dirt and other impurities but also help to balance, moisturize and nourish your skin.
How to oil cleanse
Are you using your oil cleanser correctly? It struck me in the course of the tweetchat that sometimes oil cleansing is rejected not because the product or process is wrong for that person’s skin, but because the user is unknowingly using the wrong technique and so isn’t getting the best out of it. We have some fantastic oil cleansers at Siam Botanicals and we want to be absolutely sure that our customers are getting the most out of them. So here’s the oil cleansing method in four easy steps!

1. Pour a coin-sized amount of oil into the palm of your hand, rub your hands together to warm the oil and then smooth over your face.
2. Massage the oil into your skin with upward movements.According to Jennifer who does Swedish Massage at Greentoes, you should do this for a minute or two at least; longer if you have the time. Linger over this process – it can be very enjoyable!
3. Soak a clean flannel in very hot (NOT scalding!!) water. Wring it out and press it over your face until it cools. This steaming process will remove the oil, bringing any dirt and impurities with it. It feels wonderfully relaxing, too – like a mini spa treatment! Repeat this stage if necessary.
4. Wipe away any remaining oil residue and repeat the whole process again.
Yes, we know it’s almost certainly more time-consuming than the routine you’re used to, but trust us, it’s worth it! You can get away with a single cleanse if you don’t wear make-up, but even then, a little extra time invested in a double cleanse really will pay off. If you establish oil cleansing as part of your regular skin routine, we think you’ll notice a big difference! Your skin will look and feel more hydrated and take on a radiant glow.
We have four great oil cleansers that cater for every skin type:
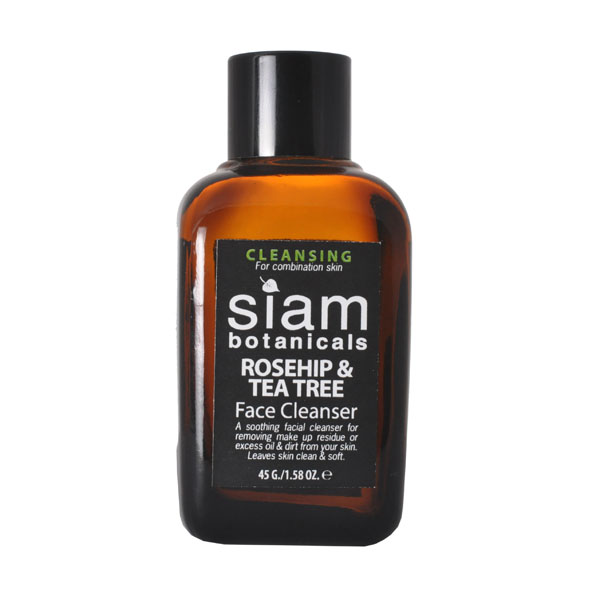
Thanks to the antibacterial powers of tea tree, our Rosehip & Tea Tree cleanser is great for blemish-prone and problem skin
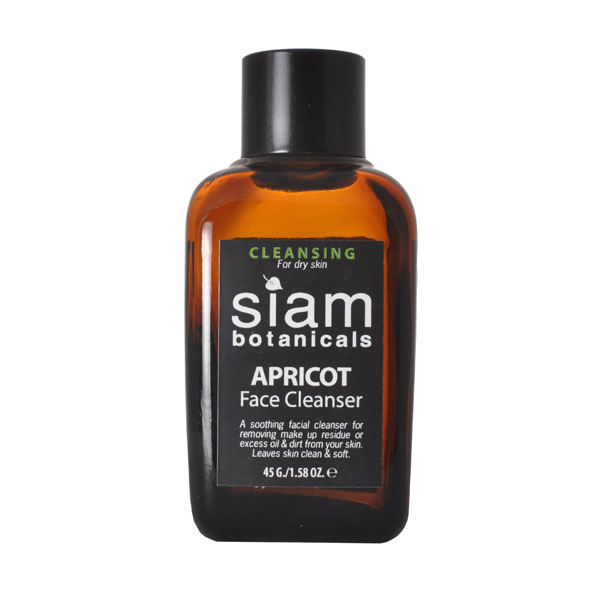
Our light, easily absorbed Apricot cleansers come in two formulas – for dry skin and for oily skin. They’re very gentle, so are also recommended for sensitive skin types
Alternatively, you can of course create your own oil blends to suit your personal skin requirements – there are plenty of great recipes on the internet to help you with this. If you’re not sure what your skin type is or which oils are likely to work best for you, this really useful article on Wildly Natural Skincare will help you work it out.
What do you think about the oil cleansing method? Is it an essential part of your skin care routine, or do you think it’s nothing more than a fad? We’d love to hear what you have to say about it in the comments below.
Comments are closed.